
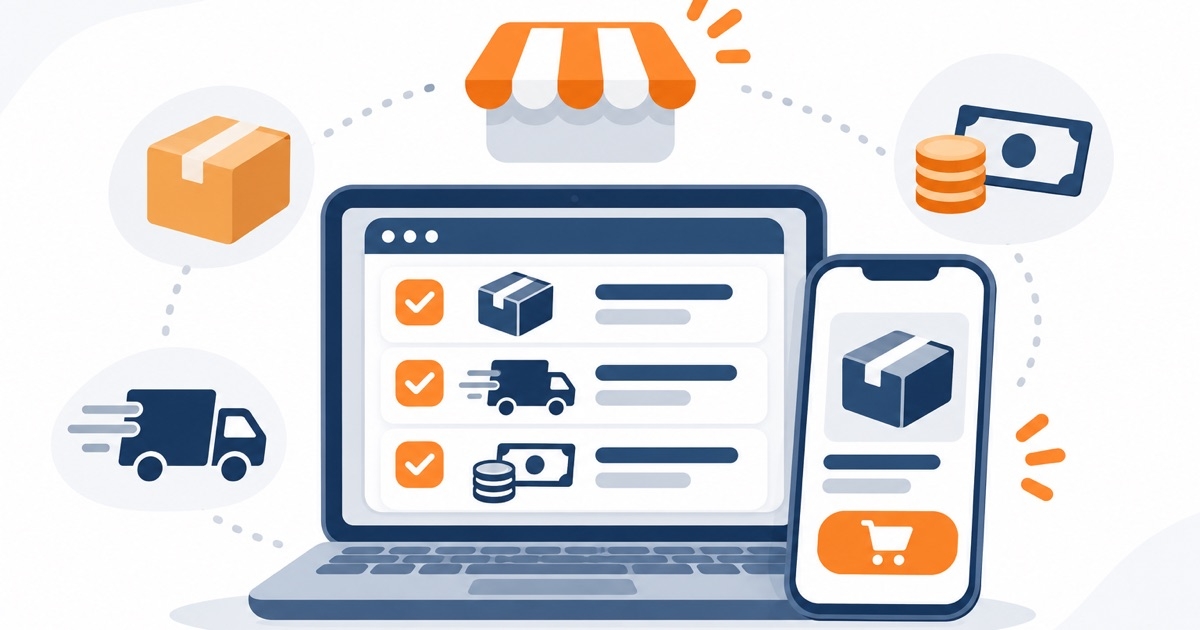
You can set up an online store on EcomWeb and take your first order in one afternoon. The setup takes about 15 minutes: create an account, run a four-step wizard, then finish three required steps (a product, a shipping rate and a payment method) before you open the store. This guide walks through each step in order, with the details that usually trip people up.
What you need before you start
- An email address or a Google account. EcomWeb has no passwords. You sign in with a 6-digit code sent to your email, or with Google.
- One product to sell, with a name, a price, a photo and the quantity you have in stock.
- Your shipping fee. A single nationwide fee is enough to start. You can add zones and free-shipping rules later.
You don't need a domain, a designer or a payment gateway. Your store gets a free address, comes with ready-made themes, and has cash on delivery (COD) turned on from the start.
Step 1: Create your account
- Open ecomweb.app/register.
- Enter your email and click Send confirmation code.
- Enter the 6-digit code from the email and click Create account.
Prefer Google? Click Continue with Google instead. The code is valid for 10 minutes, so check your spam folder if it doesn't arrive.
Step 2: Create your store with the wizard
A new account has no stores yet. Click Create your first store and the wizard asks four things. Only the name is required, and you can change everything later.
- Store name. 2 to 100 characters. The wizard shows the free address built from it below the box.
- What do you sell? Pick the industry closest to yours. It decides which themes are suggested and which sample products you get.
- Theme. Choose Meridian or Orange; the one that suits your industry is marked Suggested. Want a design of your own? Click Try under Want a theme of your own? to get a prompt you can use with Claude or ChatGPT.
- Starting point. Keep Add sample products to see how your store looks if you want to preview the theme with real-looking products. You can delete them with one click later.
Click Create store, wait a moment, then click Go to Overview.
Your new store already has a few things in place:
- Cash on delivery (COD) is on.
- A nationwide shipping zone with a 30,000 ₫ standard rate.
- About, Contact and policy pages.
Step 3: Finish the three required steps
The Overview page has a Store setup guide. Its first group, Required to take orders, has three steps, and the guide ticks each one off as you finish it.
Add your first product
- On Add your first product, click Add product.
- Fill in the name and price, and add a photo.
- Set Quantity above 0. A new product starts at 0, and customers see it as out of stock if you skip this.
- Leave the status as Active and click Save.
Only an active product you created yourself counts. Drafts and untouched sample products don't. Already have a product list? Click Import from Excel to bring it all in at once. You can also import from Shopee with the EcomWeb Importer extension, or from WooCommerce with the plugin.
Choose how you ship
- On Choose how you ship, click Set up shipping.
- Add or edit a rate in the nationwide zone, then click Save.
The rate that comes with a new store doesn't count. You have to save a rate yourself, even if you keep the same 30,000 ₫ fee. Give the guide a few seconds to update after you save.
Check how you get paid
The Get paid step is usually done already, because COD is on. Click Review to see which payment methods are on. You can add bank transfer, MoMo or OnePay whenever you're ready.
Step 4: Make the store yours (optional)
Two more steps help, but they aren't required to open:
- Add your logo and brand colors. Click Customize theme to add a logo, a cover image and your main color.
- Connect your own domain. If you already own one, click Connect domain. If not, click Keep free address. You can open the store on the free address and connect a domain later.
Step 5: Open your store
Until you open it, visitors only see a Coming soon page. When the three required steps are done:
- At the bottom of the guide, click Open store.
- Check each row in the box: your products, your shipping rates, your payment methods and, if you still have them, the sample products. Leave the delete box ticked so customers don't see the samples.
- Click Open store.
You get a page where you can copy your store link, share it on Facebook or Zalo, or download a QR code. Only the store owner and administrators can open the store, and you can close it again at any time.
Before you share the link: place a test order
Order something from your own store as a customer would. It's the quickest way to check that the cart, the shipping fee and the payment method all work. Then share the link.
What to do next
Once the store is open, the rest is all in the same admin: discount codes and promotions, stock across several warehouses, Google Shopping, and reports next to your Google Analytics numbers. You can also connect ChatGPT or Claude, free on every plan, and run day-to-day jobs by chatting, like "take 15% off running shoes this weekend".
Ready to start? Create your free store on EcomWeb. The Free plan has no time limit. For more detail on each step, see Set up your store in 15 minutes in the help center.